Trying to pick a budget tripod? The running advice in photography circles is that you must spend a couple of hundred on your first tripod, or forever rue the day. So a list of the best tripods under $150 is probably going to raise some eyebrows and maybe even some blood pressure.
The thinking is that budget tripod are so terrible that you should simply wait patiently until you can afford to spring for an excellent, professional $300+ one.
But here’s how I look at it. If you don’t have a tripod and just want to learn how to use one to expand your photography skills, why hold out until you can afford the expensive one? Why not start with an affordable one and graduate to the good stuff later?
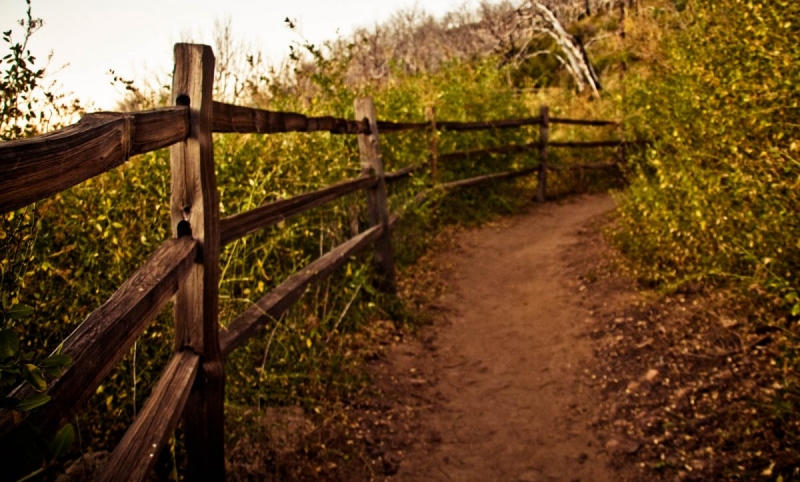
I’ve used affordable tripods for ages and got great shots and haven’t had many problems or damaged any gear. Here’s one I got of the Milky Way.

Start with What you Can Afford
I believe it’s okay to start with what you can afford and move to a better version once you know you are interested in pursuing that type of photography further.
It’s the same with cameras. Many photographers started with a point-and-shoot or a phone. Once they got interested, they switched to a mirrorless or DSLR.
The higher end cameras are wonderful and powerful and let you do things you just can’t on a phone. But the budget option is what gets you a taste of photography, gets you interested in stepping up to some better gear.
So it’s the same with tripods. If you can afford an excellent one and know you’ll make good use of it, you should definitely do it. But if you can’t afford the $300 tripods, try out one of these excellent budget options.
How Much Should I Spend On My First Tripod?
The expensive tripods are better. It’s true, they are, I’m not going to lie. They are made from materials like carbon fiber and can be sturdier at less weight. They also have high quality heads which can hold a heavy weight precisely, and without drift.
But. The best budget tripods are actually pretty decent. And you can certainly learn how to shoot fireworks, or night skylines, or even the milky way using a tripod under $100.
So – if you are just trying your hand at some long exposure photography, and have a budget like most normal people do, just start with a decent affordable tripod. In strong wind, you will have trouble but in normal conditions, you will definitely be able to learn how to shoot astrophotography or fireworks or even long exposures of water.
What to Look for in a Tripod?
There are many varied features to tripods and I’m going to explain what the features are and help you understand which features might matter more to beginners.
What are the parts of a tripod called?
First off, here’s an image depicting what the parts of a tripod are.
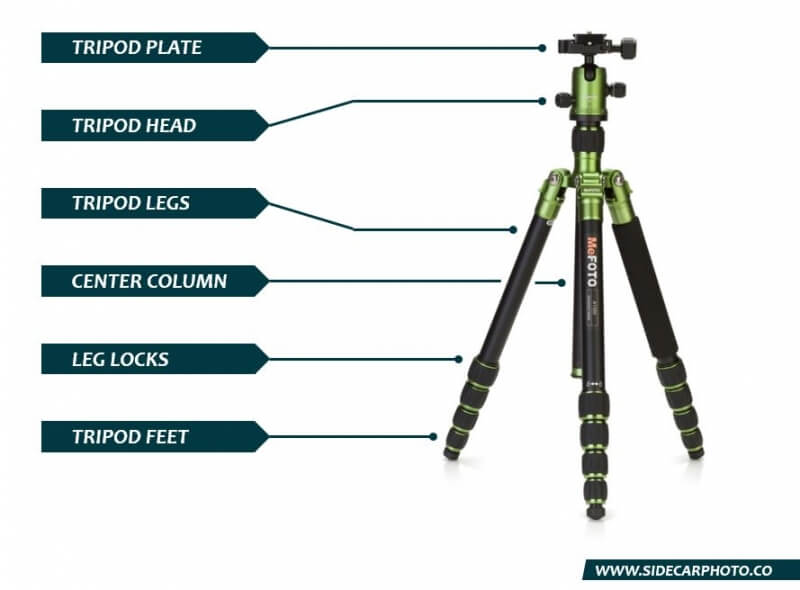
- Tripod Plate – This is a removable plate that attaches to the bottom of your camera using the tripod screw. It allows you to snap the camera in and out of the head easily.
- Tripod Head – The head is the part that holds the camera and allows you to reposition the camera and lock it in place.
- Tripod Legs – The legs are the extendable parts that can raise or lower the camera and provide stability to the whole tripod.
- Center Column – This is the center pole that can also be raised. But watch out, raising the center column typically lowers stability. Better to extend the legs first.
- Leg Locks – The leg locks usually come in two types, flippy and twisty. They locak the legs in place after you extend them.
- Tripod Feet – The feet are the tips that touch the ground. Usually rubber they something have a metal tip to dig into soil or sand.
Don’t worry! You don’t have to remember all of those 😀 but it may be helpful when reading the rest of the post.
Head Stability
There’s two aspects to stability – the head and the legs. The head has a max weight it can handle. Anything more and when you tighten the knob the camera will slowly creep away from the locked position, ruining your shot.
So you want a head that can handle the max weight of your camera. If you have a full frame DSLR and large lenses, this means you need a far better tripod head than if you are wielding a micro four thirds camera and lightweight lens.
Unfortunately, the max weight reported by the tripod manufacturers is usually wrong, so they best we have to go on is reported reviews.
Tripod Head Type
Head stability is important. But there are still a lot of different heads to pick from. Many pro tripods actually sell the head and legs separately in fact.
So depending on what you are using the tripod for, you want to make sure it has a head that suits you.
Which type of tripod head is best for photography?
First let me quickly explain the main types of heads.
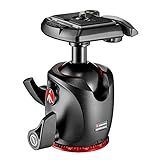
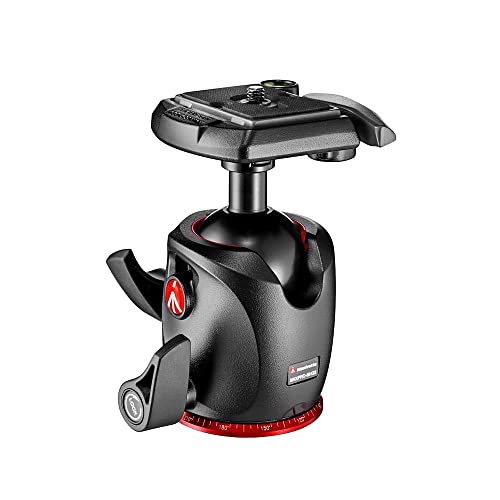
Ball head – Balls heads have a ball and socket type joint. They are very easy to swivel around and set so they are great for photographers who just want something quick and easy to setup and shoot.
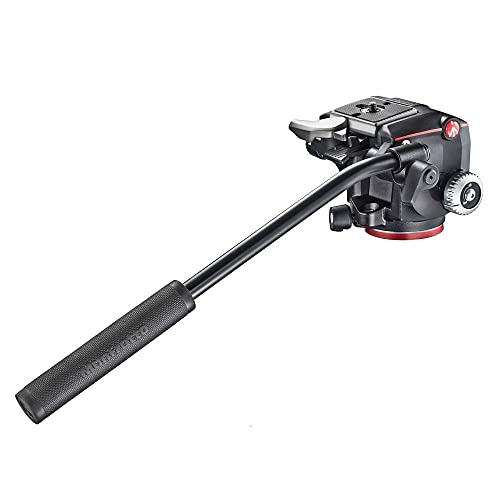
![]() Pan and tilt head – Pan and tilt heads have two separate axes of movement and two separate knobs to control it.These are sometimes called two-way or three-way heads. Three-way heads allow you to flip the camera into portrait mode.They are slower to position at first but then you have greater control over each axis of movement. So they are better in situations where you have time to set up each shot and perhaps want to take multiple shots for stacking or other post process work.
Pan and tilt head – Pan and tilt heads have two separate axes of movement and two separate knobs to control it.These are sometimes called two-way or three-way heads. Three-way heads allow you to flip the camera into portrait mode.They are slower to position at first but then you have greater control over each axis of movement. So they are better in situations where you have time to set up each shot and perhaps want to take multiple shots for stacking or other post process work.
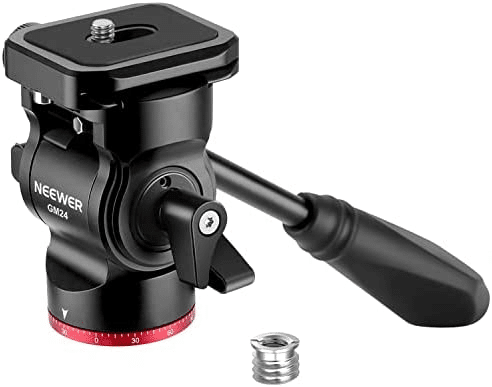
![]() Fluid head – A true fluid head has the mechanism floating in fluid for ultimate smoothness in moving. These are largely used for video production.
Fluid head – A true fluid head has the mechanism floating in fluid for ultimate smoothness in moving. These are largely used for video production.![]()
Pistol grip head – This is more of a specific type of ball head. The pistol grip release the ball so that you can reposition the head more easily.![]()

So which one is best for you? In most cases, a ball head will suit most hobbyist photographers, so you can’t go wrong with one.
However, if you feel you prefer greater control and will spend more time setting up each shot, a pan and tilt head might be best for you.
Leg Stability
Next up is the leg stability. This is largely dependent on the quality of construction and the material the tripod is made of.
The most common material is aluminum. But a better new material is carbon fiber. Carbon fiber is stiff and light but expensive.
On the other hand, a tripod can be more stable simply due to weighing more. So if you can’t afford carbon fiber and don’t care about carrying a heavier tripod, that in itself can help stabilize the tripod.
And that’s the tradeoff you have to make.
Even with carbon fiber, it’s easier to unbalance or knock over a lighter tripod than a heavier one. It’s just physics. So you can improve stability by using a bag of rocks hooked on to the center pole.
Weight
As mentioned, the weight changes how stable the tripod is. But you also have to remember that the weight of a tripod can affect how often you use the tripod.
For e.g. a travel tripod can’t be too heavy or you’ll be paying some luggage fees. And then lugging it on a hike is going to get tiring.
With that in mind, you may want a lighter tripod and should check the weight of the tripod before buying.
Size
In addition to weight, you have to look at how big the tripod is. If you’re in a studio, no biggie, get any size tripod you like.
But if you’re traveling, like I am, you really want one that folds up pretty small and takes up less space in your bag.
Again, the bigger the tripod, the more of a barrier it is to carrying it places.
Best Tripods Under $150
So let’s do it – Here are some great tripods under $150. They are not apples to apples comparisons because there are a couple of different tripod types represented here. But I wanted to make sure there’s a good option no matter what kind of photography you plan to pursue.
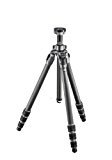
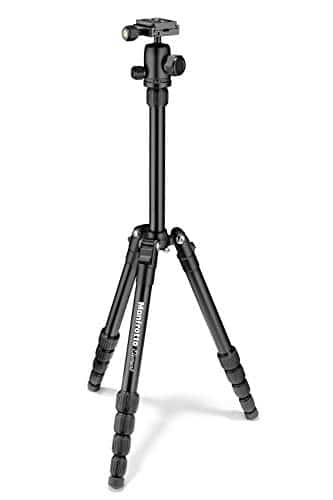
Manfrotto Element Traveller
I’m pretty surprised that a heavy hitter like Manfrotto has come up with such an affordable travel tripod but this is a great option! I honestly wish I had bought this one, but it wasn’t available when I last purchased a tripod.
Buy Manfrotto Element Traveller Now
It’s pretty amazing how small and light this tripod is, but be aware it can be less robust than heavier versions. The final section of the legs is pretty slim so I wouldn’t use it at full height with too heavy of a camera or in windy conditions.
Other than that, users report that this is still a very sturdy well built tripod for most situations and at that size, it’s the most compact choice with this feature set
| Manfrotto Element Traveller Tripod | |
|---|---|
| Material | Aluminum |
| Cost | $$ |
| Max Height | 52.7″ |
| Folded Height | 12.5″ |
| Tripod Weight | 2.5 lbs |
| Other | Arca Swiss plate, Twist locks |
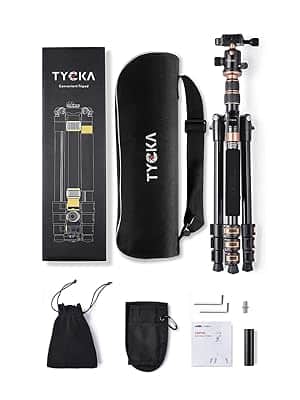
TYCKA 56” Travel Tripod
This tripod is a great first tripod at an affordable price. It’s not from a well-known brand but at this budget, it’s tough to find branded tripods.
Buy TYCKA 56” Travel Tripod Now
At 2.89 lbs, that’s quite a lightweight tripod which is rare at this price range. It has a max height of 56″ but folds down to just 15″. Not a bad size for a backpack.
One cool feature of this one – for days when you want to go even lighter – is that it can convert into a monopod, which is just the one leg. Shooting with a monopod is useful in crowded places, and with this one you don’t have to pick a tripod OR monopod, you get both.
I also like that it uses flip locks, which I find a good deal quicker to manipulate than twist locks. And it uses a standard Arca swiss plate, which is helpful if you ever need to replace it (it’s so easy to lose that little piece).
| TYCKA 56″ Travel Tripod | |
|---|---|
| Material | Aluminum |
| Cost | $ |
| Max Height | 56″ |
| Folded Height | 15″ |
| Tripod Weight | 2.89 lbs |
| Other | Arca plate, Flip locks |
Geekoto Compact Tripod
This Geekoto model AT24Evo is a fairly compact tripod but not as compact as the MeFOTO backpacker. It folds down to about 19 in and weighs 3.7 lbs, both of which make it quite a respectable offering at it’s price point.
It’s fairly solid as well with flip locks on the legs which I do prefer.
If you can’t find the MeFOTO under $150, this one will serve you well instead. It’s got an almost identical feature set, with the monopod feature and the flip locks could actually sway me to pick this one over the other.
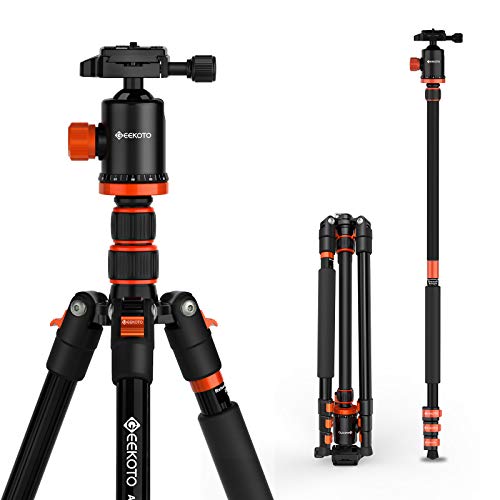
Buy Geekoto Compact Tripod Now
| Geekoto Compact Tripod | |
|---|---|
| Material | Aluminum |
| Cost | $$ |
| Max Height | 77″ |
| Folded Height | 19″ |
| Tripod Weight | 3.7 lbs |
| Other | Arca Swiss compatible plate, Flip locks |
Geekoto also has a smaller, more compact version but it seems to have a few quality control issues. I’ll link it here in case you do want to check it out.
Manfrotto PIXI Mini Tripod
That seems like a pretty rare situation, but this little tripod is also tiny and can be thrown in your bag to use in a pinch at any time.
It’s just 7.3 inches long and 4 inches wide and amazingly can hold up your DSLR and lens. Yes, you heard that right! It can hold a DSLR solidly despite its tiny size.

While not the most versatile of tripods, I wouldn’t get the Manfrotto PIXI as my main tripod but it’s an excellent second option for the gear bag. It’s my pick for Best Travel Tripod.
It’s also really useful for trying out macro photography, if you want to get into that. And at its current price point of under $30, it definitely won’t break the bank.
| Manfrotto Pixi mini tripod | |
|---|---|
| Material | Aluminum |
| Cost | $ |
| Max Height | 5″ |
| Folded Height | 7.3″ |
| Tripod Weight | 0.4 lbs |
| Other | Tabletop |
JOBY GorillaPod SLR Zoom
Finally, we have to give a shout out to the GorillaPod – the best Flexible tripod. These flexible tripods can be wrapped around a fence or branch. They can be balanced on rocks or other uneven surfaces.
The Joby GorillaPod 3K Kit has a high quality ballhead that does a good job holding an SLR.
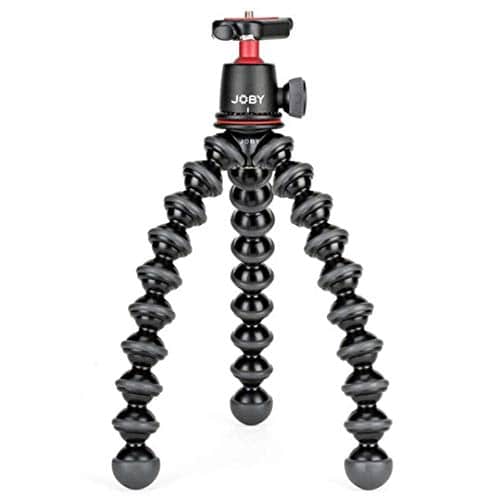
Users report that it’s really easy to position using the ballhead.
You do need to take your time ensuring the gorilla arms are securely fastened to whatever you are using as a prop.
At 0.86 lbs, it’s a lot lighter than all our other options other than the mini tripod, but don’t worry – it can hold 6.6 lbs.
It’s also small compared to our ultracompact tripod at 12 in long and 2.6 in wide, but is definitely bigger than the PIXI.
While it usually sells without a ballhead, which you have to buy separately, you can get an incredible deal on it if you buy the bundle from Amazon.
| Joby Gorillapod 3K Kit | |
|---|---|
| Material | Aluminum |
| Cost | $ |
| Max Height | 12″ |
| Folded Height | 12″ |
| Tripod Weight | 0.86 lbs |
| Other | Flexible arms |
Best Tripods under $150
Here’s a shortlist of the tripods mentioned.
| Tripod Name | Tripod Type | Weight | Height |
|---|---|---|---|
| Manfrotto Element Traveller | Ultra Compact | 2.5 lbs | 12.5″ |
| TYCKA 56” Travel Tripod | Compact | 2.89 lbs | 15″ |
| Geekoto Compact Tripod | Compact | 3.7 lbs | 19″ |
| Manfrotto PIXI Mini Tripod | Tabletop | 0.4 lbs lbs | 7.3″ |
| JOBY GorillaPod 3K Kit | Flexible Arms | 0.86 lbs | 12″ |
Hope this list of the best tripods under $150 helped you find one that works for you. If you have any questions about the various tripod types, be sure to ask below.
This post has affiliate links. As an Amazon Associate I earn from qualifying purchases. The opinions presented are my own.